Help Center Pages & Editing
Menu styles for a row of tabs
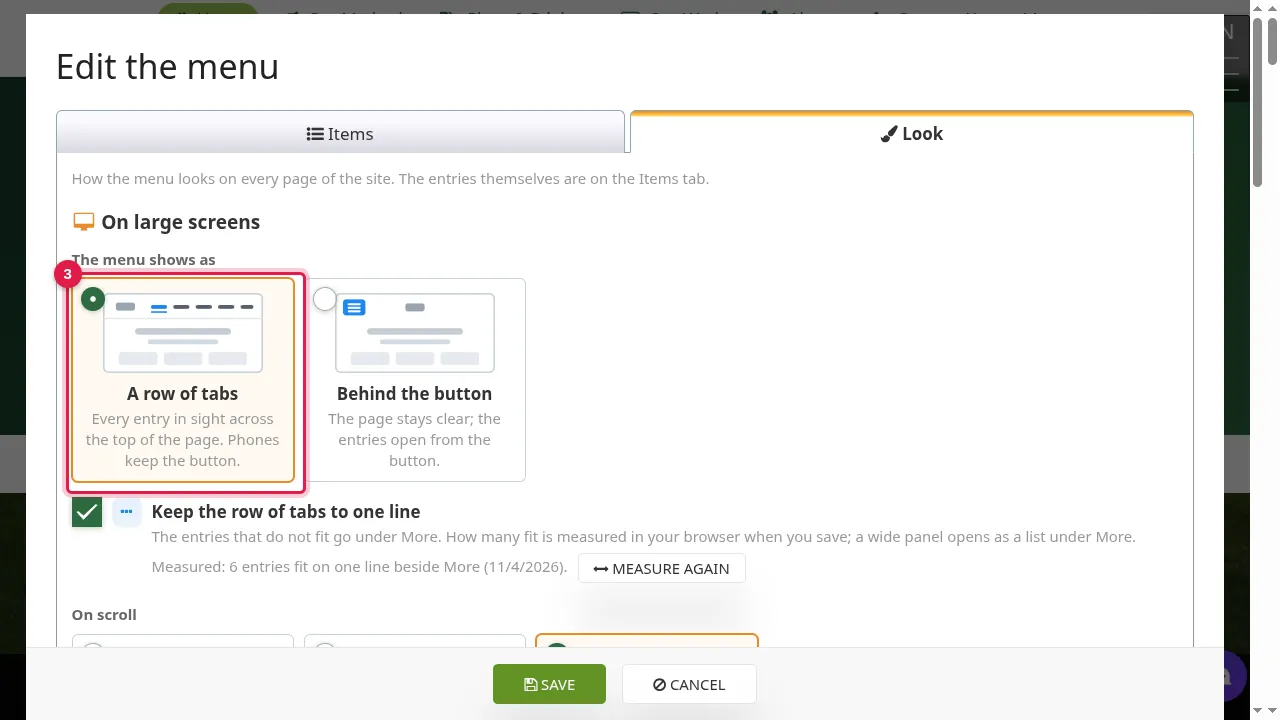
On the Look tab of Edit Menu you choose how the menu shows on large screens: a row of tabs across the top of the page, or behind the menu button. With a row of tabs you get two extra styles, Sliding underline and Slashes, and you can show your logo at the row's left end. A row of tabs needs the SoNET template.
Watch it done: a short silent video with captions · 0:50. The steps below show the same thing picture by picture.
Before you start
- Log in to your website.
- A row of tabs needs the SoNET template: choose it in Template Kit, on the Template tab. With other templates the Look tab says the template shows the menu behind its button, and these styles are not offered.
Open the Look tab
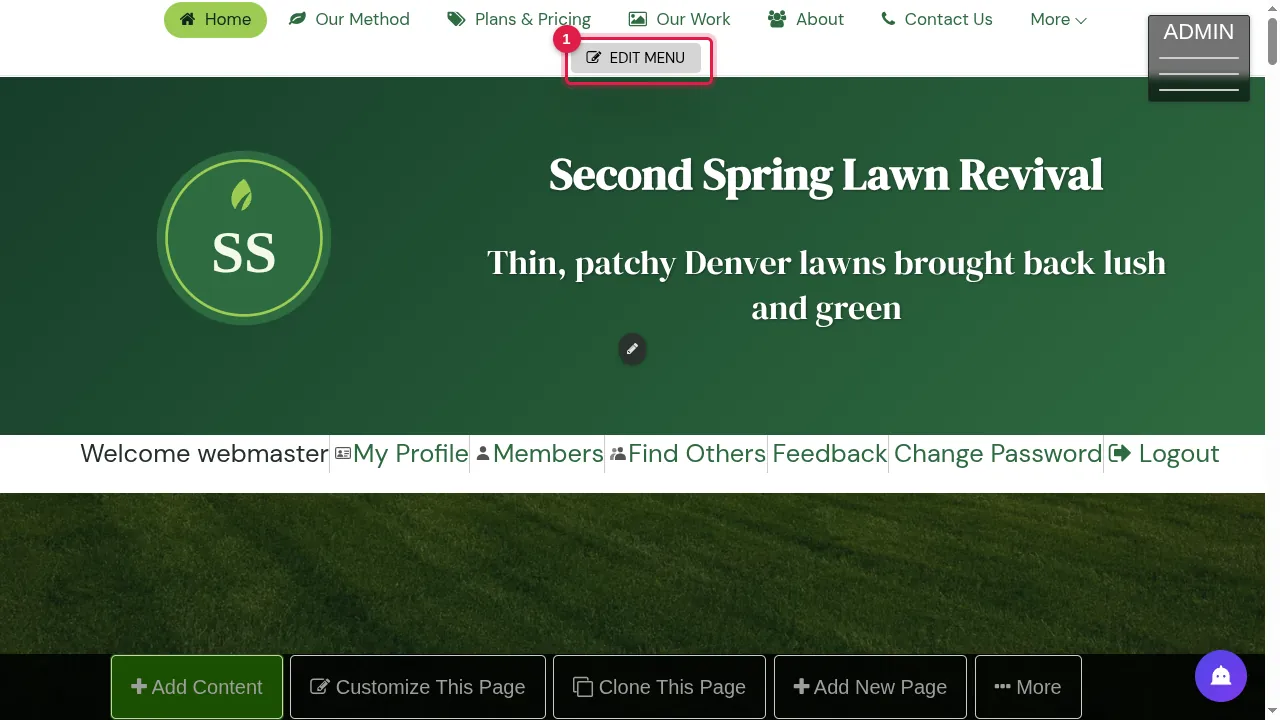
Step 1. Click EDIT MENU (with a row of tabs it sits in the row).
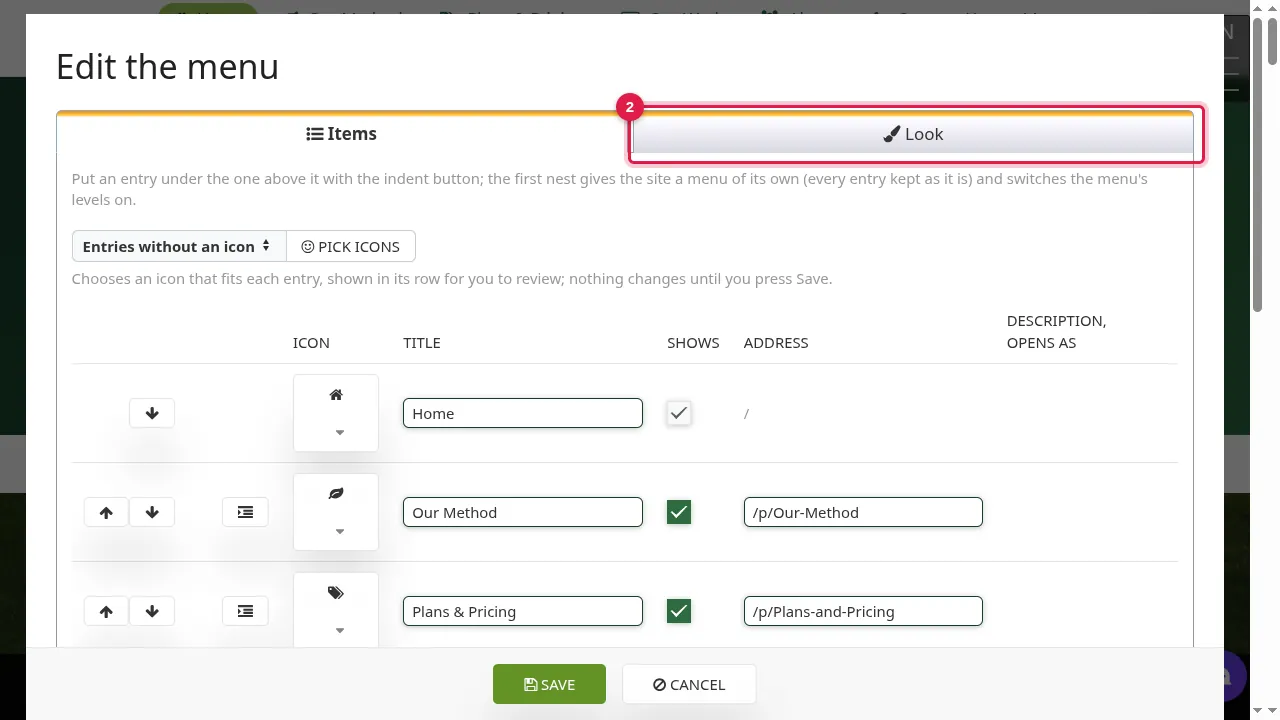
Step 2. In "Edit the menu", open the Look tab.
Step 3. Under "On large screens", "A row of tabs" puts every entry in sight across the top of the page. Phones keep the menu button.
Choose a style for the row
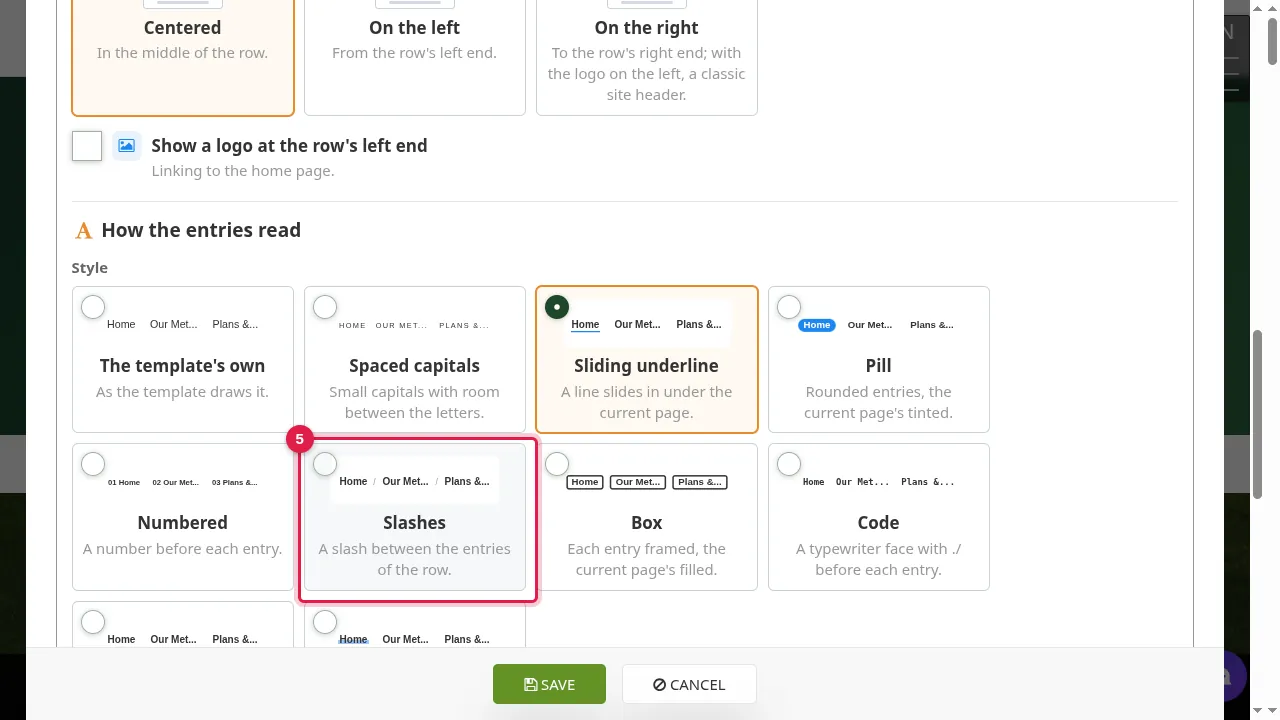
Step 4. Under "How the entries read", two styles are only for a row of tabs. Sliding underline: a line slides in under the current page.
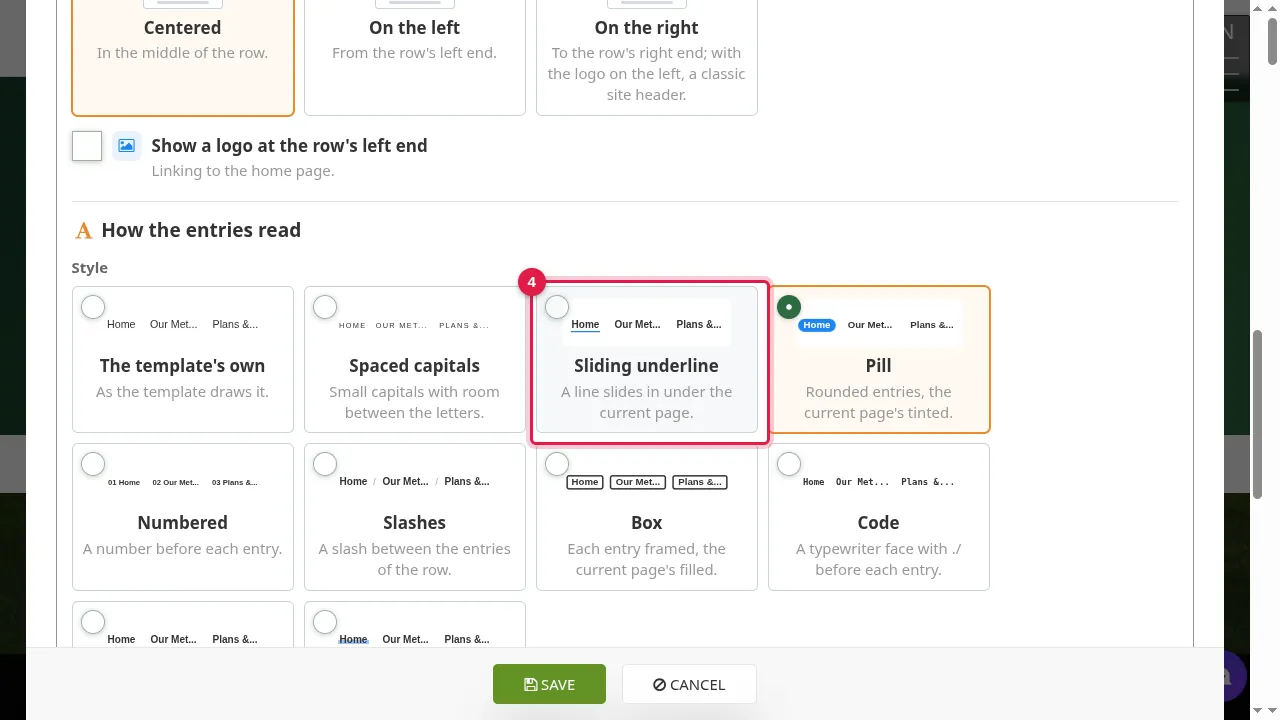
Step 5. Slashes: a slash between the entries of the row.
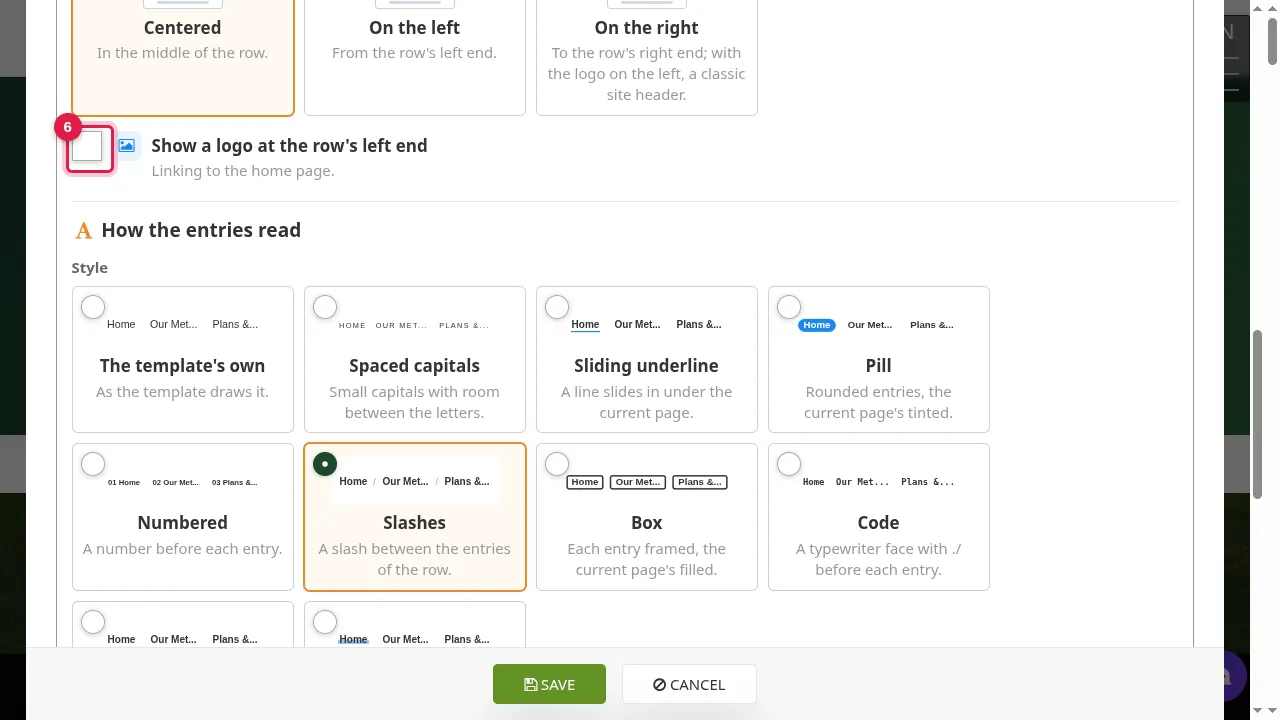
Step 6. Tick "Show a logo at the row's left end" to show the site's logo, linking to the home page. The window then shows the logo, with a button to upload another one.
Save or cancel
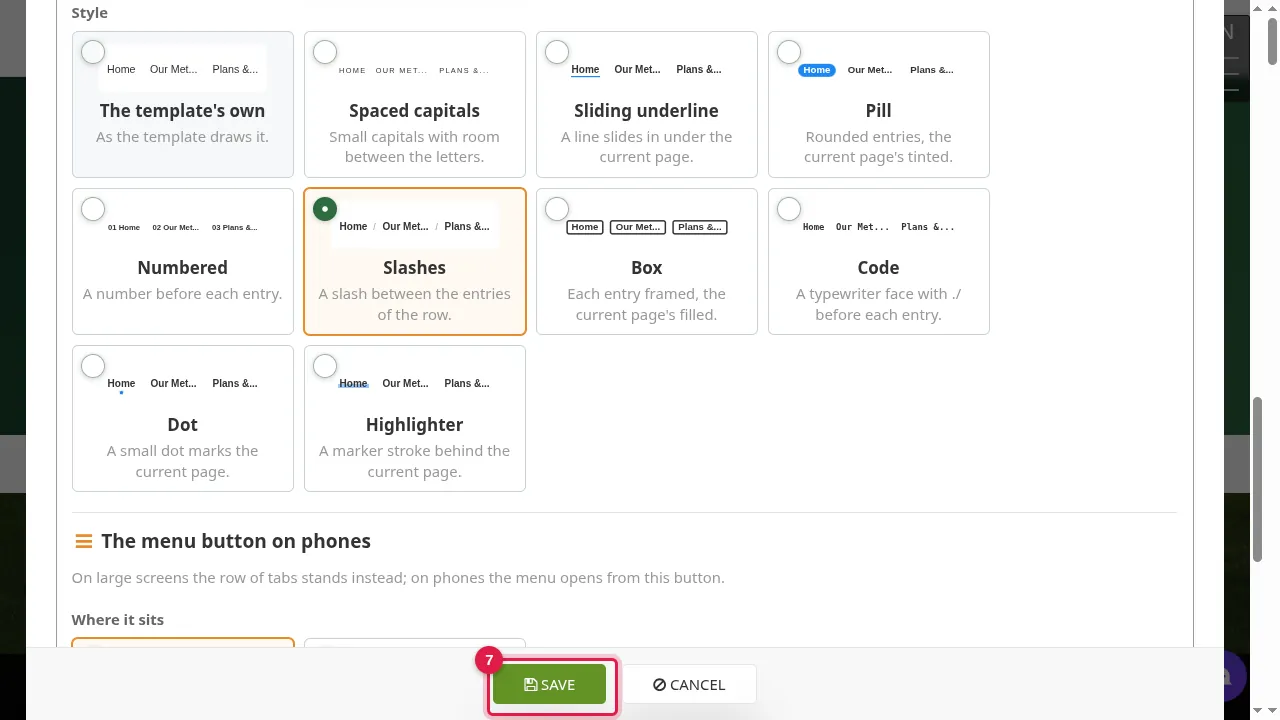
Step 7. Click Save to use the new look.
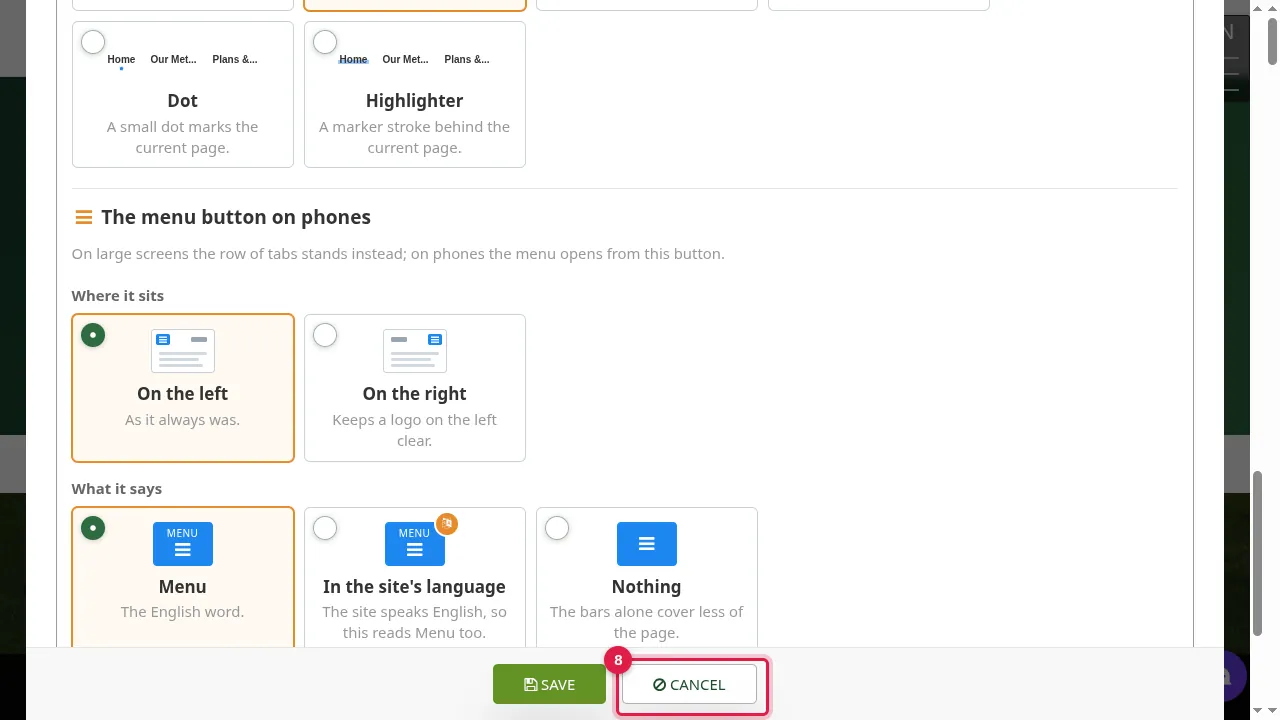
Step 8. Cancel closes the window and keeps the menu as it was. (In this demo we pressed Cancel.)
Check it worked
After saving, log out (or open a private window) and look at the top of a page on a large screen.
Good to know
- Each style has a small preview in its tile, so you can compare them before you save.
- "Keep the row of tabs to one line" puts the entries that do not fit under More.
- With the logo on the left, "The entries: On the right" gives a classic site header.
Related help
Shown on the 2026 version of the SoNET Web Engine. Last checked 5 November 2026. Something different on your screen? Tell us through the Contact page.