Help Center Forms
Create a form from a description
Describe the form you need in a sentence, or list its fields, and the site drafts it for you. You check the preview, then the draft opens in the normal form window, where you change what you like and save it.
Watch it done: a short silent video with captions · 0:33. The steps below show the same thing picture by picture.
Before you start
- Log in as the site owner.
- Open ADMIN › Manage Contact Forms.
Describe it
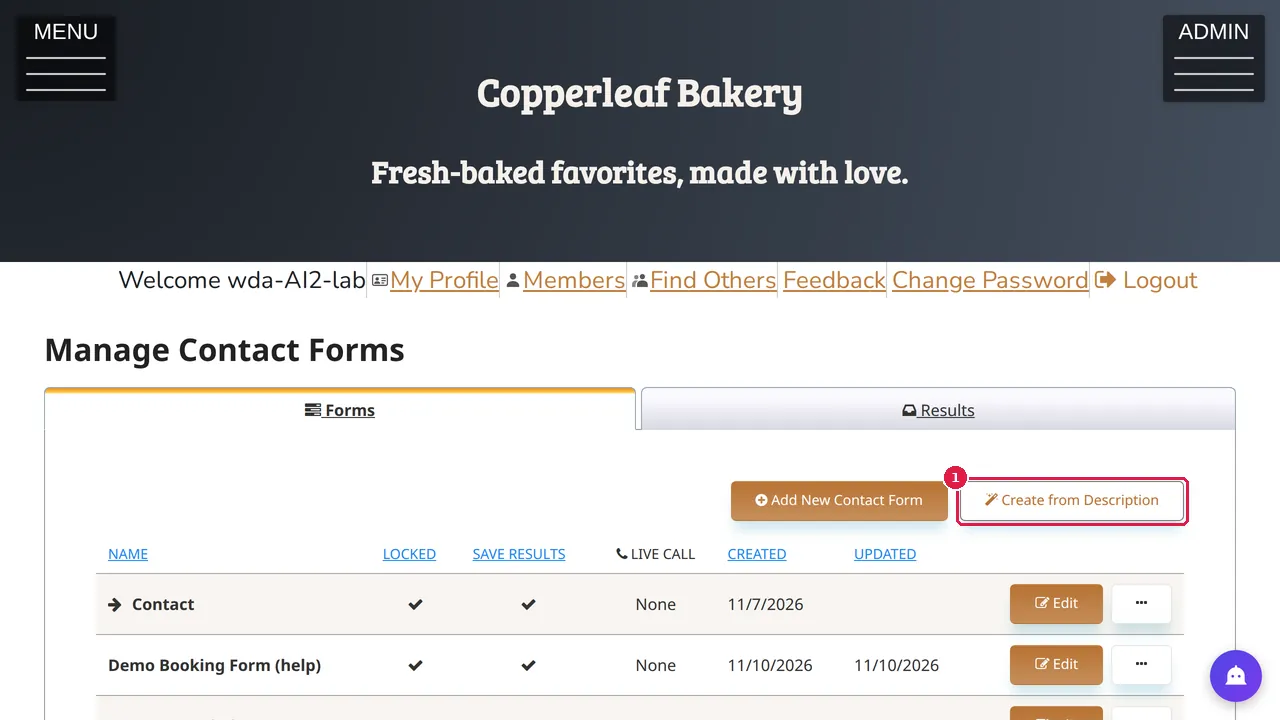
Step 1. In Manage Contact Forms, click Create from Description.
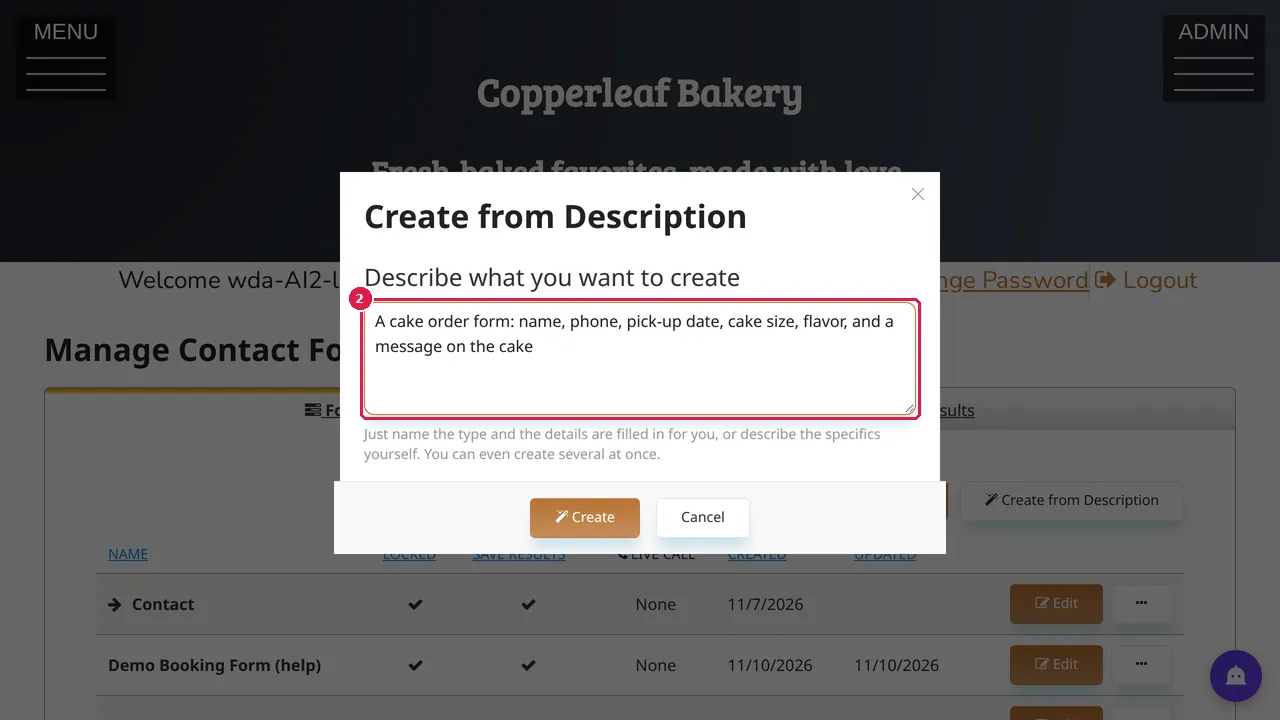
Step 2. Describe the form you want, for example "a contact form" or "an event RSVP", or list the fields yourself. You can even create several forms at once.
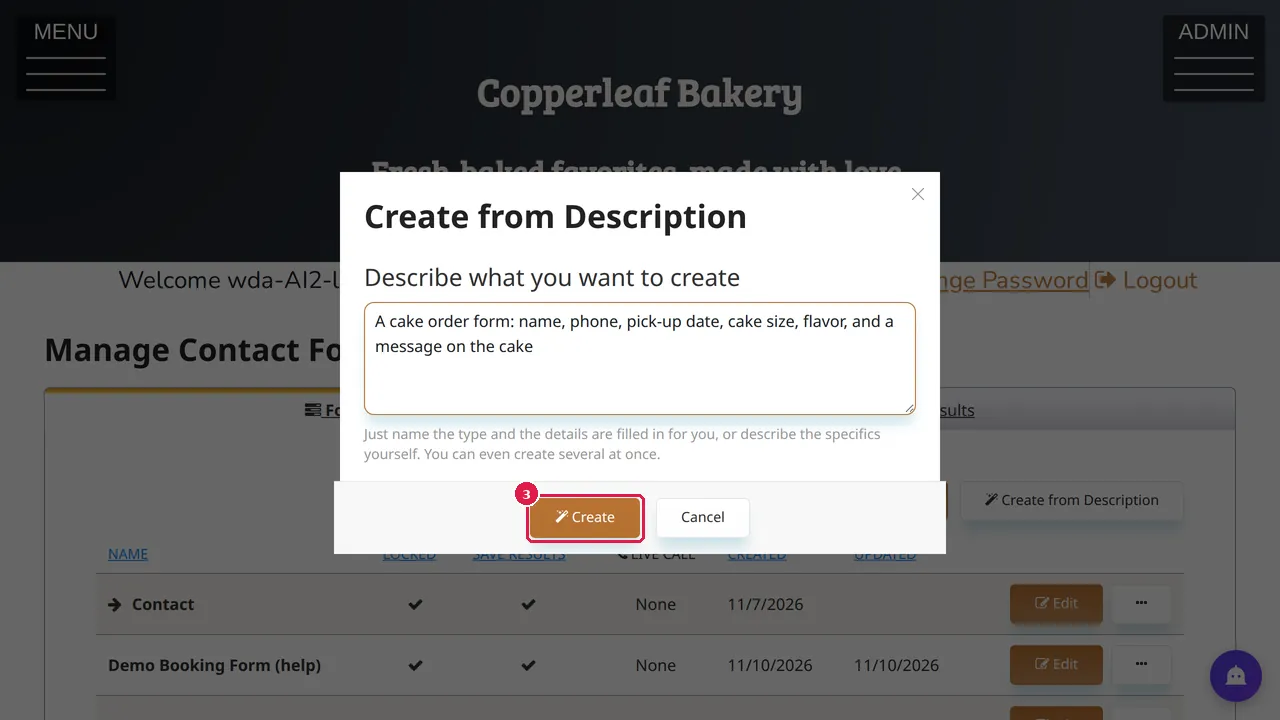
Step 3. Click Create and wait a few seconds.
Check it and keep it
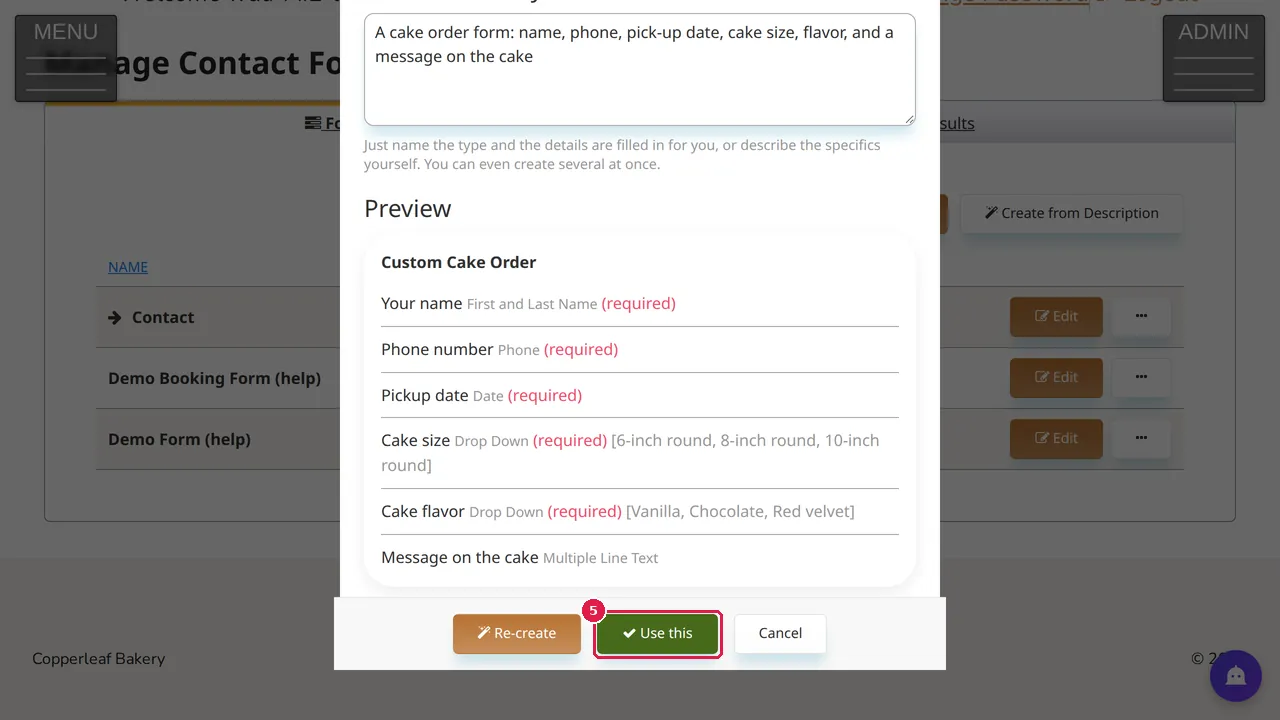
Step 4. The preview shows the form it drafted: its name and every field, with its type, whether it is required, and the choices of a drop-down. In this example it made Custom Cake Order with the six fields that were asked for.
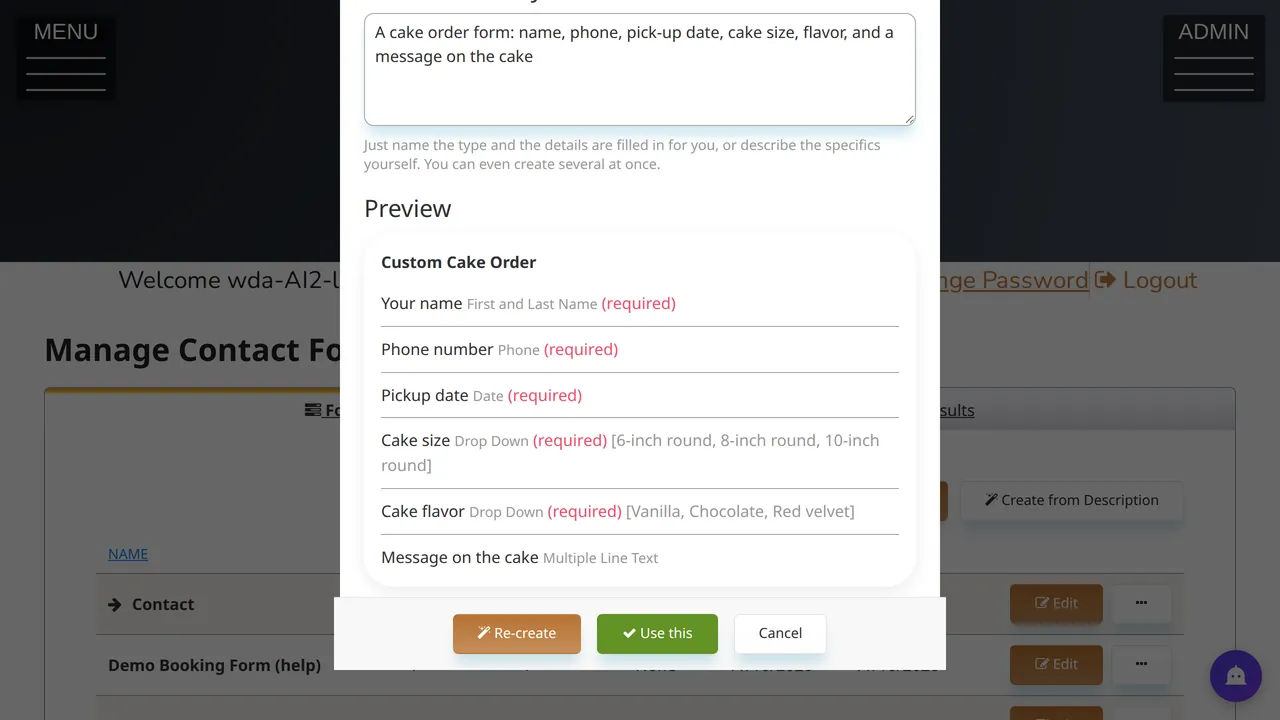
Step 5. Not right? Re-create drafts another one. Happy with it? Click Use this. Cancel closes the window without a form.
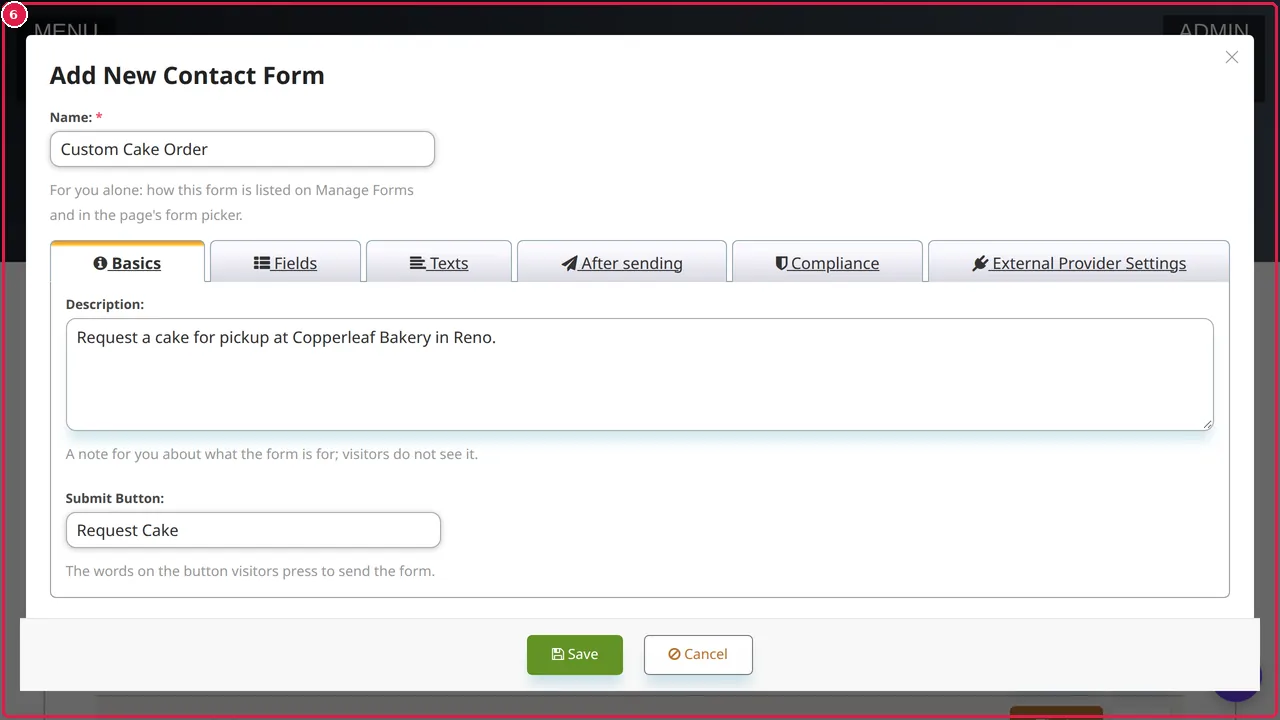
Step 6. Use this opens the normal Add New Contact Form window, already filled in (name, description, submit button and fields). Check every tab, then click Save. (In this demonstration nothing was saved, so no form was added.)
Check it worked
After saving, open the form as a visitor in a private window and send a test: the result appears in Forms › Results.
Good to know
- Read every field before saving: the draft is a starting point, not a finished form.
- Add an e-mail field if you want to answer people by e-mail.
Related help
Shown on the 2026 version of the SoNET Web Engine. Last checked 10 November 2026. Something different on your screen? Tell us through the Contact page.